IRON NEST: Heavy Turret Simulator Clipboard & Firing Card Workflow
Copy map numbers once, trust them through load and lay, fire with confidence.
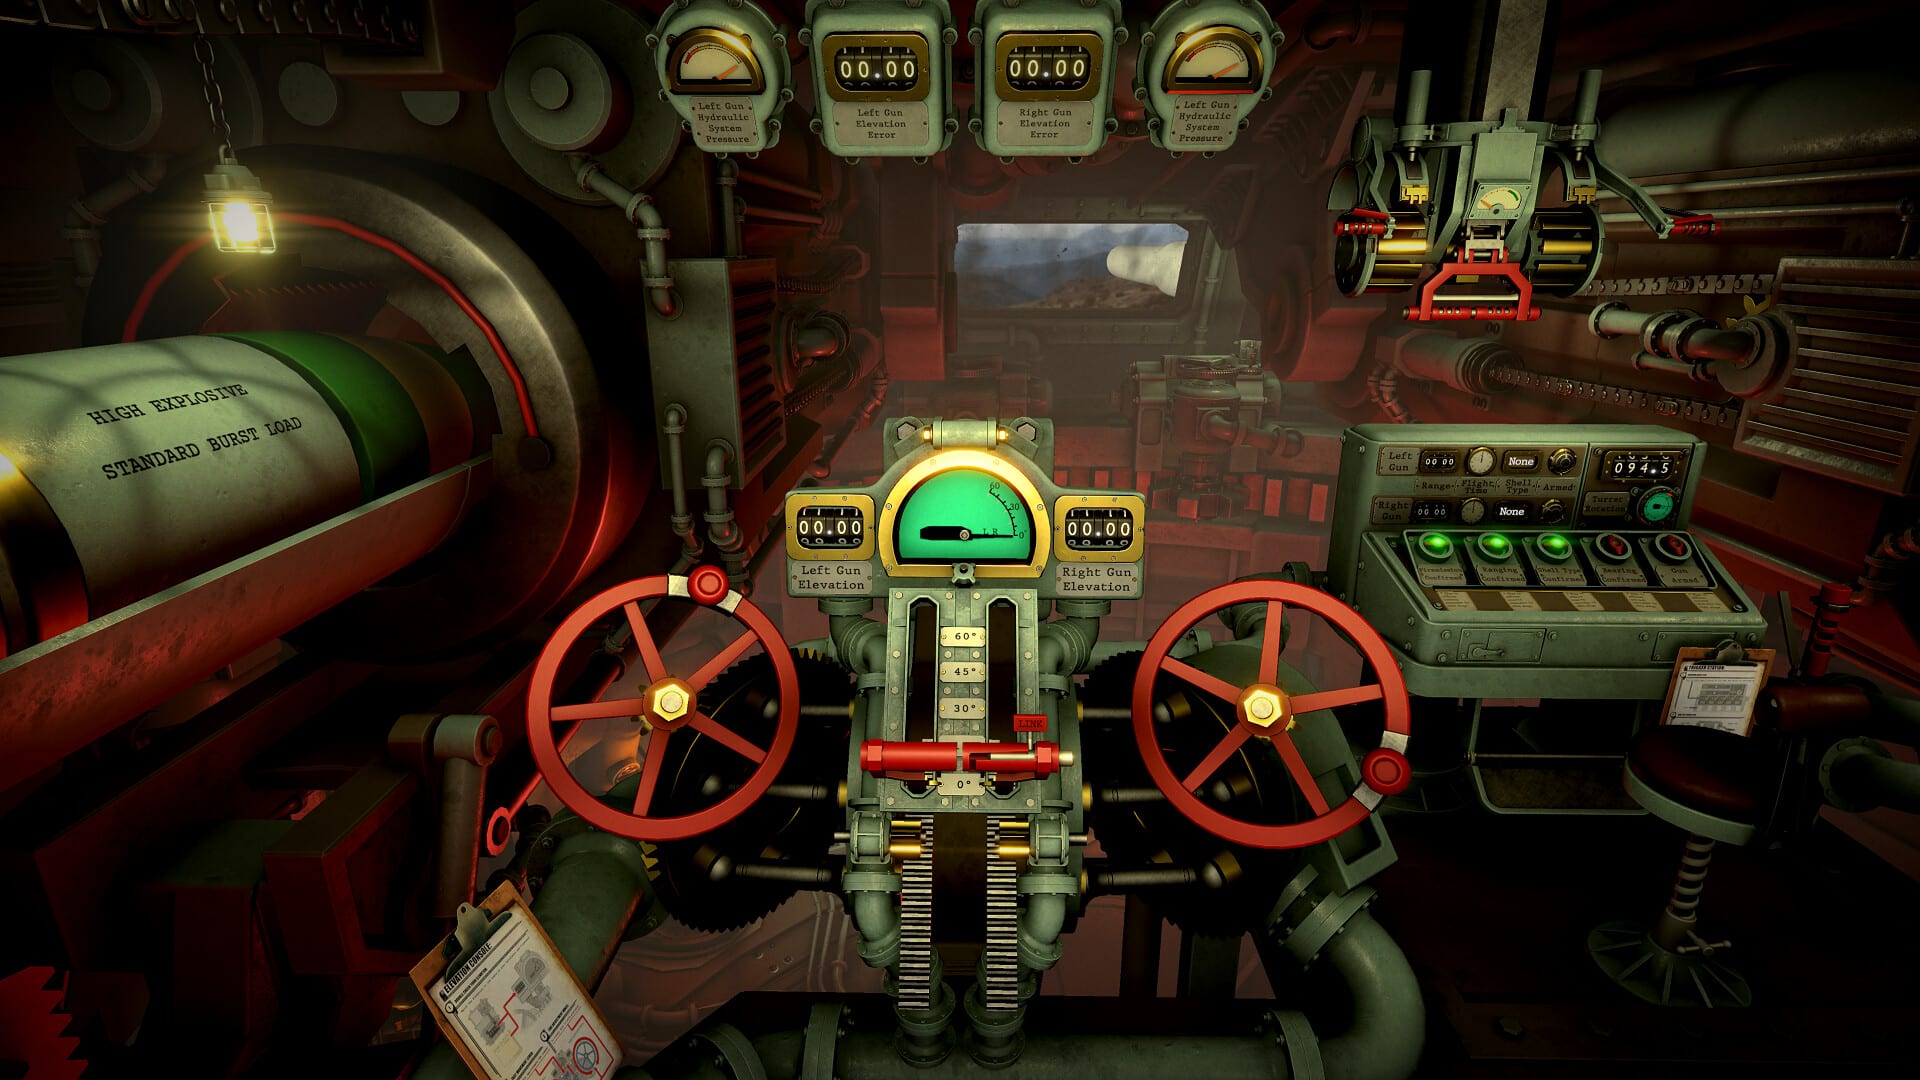
IRON NEST never asks you to memorize a firing solution in your head. The game gives you a clipboard —a persistent firing card on screen —and expects you to treat it like real artillery paperwork. Bearing, range, elevation, powder charge, and shell type should flow from the map and ballistic calculator into the clipboard, then from the clipboard into the turret controls without improvisation.
Operators who skip the clipboard guess elevation, mix up range digits, or fire before confirming charge brackets. This guide explains how the clipboard works, how it connects to map measurement and the ballistic calculator, and how to build a repeatable checklist you can run under mission pressure.
What the clipboard stores
After you measure on the tactical grid, the map tool copies bearing and range to the system clipboard —typically surfaced on your firing card when you press Tab or open the clipboard panel (see default keybinds for your layout). The ballistic calculator then adds elevation and propellant charge once you enter range and select the correct powder bracket.
Think of the clipboard as a single source of truth for the current shot:
| Field | Source |
|---|---|
| Bearing | Tactical map measure line |
| Range | Tactical map measure line |
| Elevation | Ballistic calculator output |
| Powder charge | Calculator charge bracket |
| Shell type | Your rack choice (ammunition) |
If any field disagrees with what you see on the instruments, fix the upstream step —do not edit mentally and fire hoping for luck.
The standard copy workflow
Run this sequence every mission until it is muscle memory:
- Read the teleprinter order —note target type and any grid references (teleprinter and intel).
- Draw the measure line from turret to target on the tactical grid.
- Confirm bearing and range appear on the clipboard after the map tool finishes.
- Walk to the ballistic calculator —paste or enter range, select charge, read elevation.
- Verify the clipboard shows matching elevation and charge before leaving the calculator station.
- Load the shell that fits the target (shell loading and gun laying).
- Traverse and elevate to clipboard numbers on the physical wheels (physical gun controls).
- Fire once, then read recon —adjust via artillery corrections if needed.
The first firing solution walkthrough follows this chain end to end; return here when you forget which step feeds the clipboard.
Tab discipline under pressure
Later missions compress time between teleprinter prints. Resist the urge to skip opening the clipboard because you “remember” range from three steps ago. Range mistakes from mis-snapped grid lines are the leading beginner failure mode —the clipboard exists to catch them.
Slow Tab beats fast misses:
- Open the clipboard before leaving the map table.
- Open it again after the calculator spits elevation.
- Open it once more at the gun before you report ready.
Three checks feel redundant until the first time they prevent a 2 km overshoot.
Firing card versus mental notes
Some operators keep paper notes beside their keyboard in real life; IRON NEST formalizes that with on-screen card UI. Do not duplicate values on scratch paper unless you are learning —dual tracking introduces typos.
When correction fire is required, update your mental model from recon photos, then adjust range or elevation on the calculator and refresh the clipboard before the follow-up shot. Walking rounds onto target is easier when each correction starts from written numbers, not gut feel.
Common clipboard mistakes
Stale range after moving the measure line. Redrawing the map line without re-copying bearing and range poisons the calculator. Always re-measure from scratch when the target marker shifts.
Wrong charge bracket selected. Elevation may look plausible while range is wrong for the propellant load. Cross-check charge on the clipboard against the calculator dial you physically set.
Shell type mismatch. Clipboard may not scream “you picked HE against armor” —that decision lives in your rack choice. Pair shell selection with teleprinter target description before you load.
Firing before traverse rests. Clipboard bearing is useless if the turret has not settled on the dials. Wait for mechanical rest at elevation and traverse before commit.
Clipboard in the demo versus full game
The Steam demo uses the same clipboard and calculator pipeline as launch build. Demo missions simply expose fewer shell types and intel variants. Skills you build copying values in the demo transfer directly to campaign theaters —see demo guide for mission pacing.
Advanced habits
Pre-write correction deltas. When star shells or triangulation missions appear (triangulation and spotting), note expected correction direction on paper only after first miss —then still enter formal numbers on the calculator for the second shot.
Pair with console tools. Map console tools and clipboard checks complement each other; console shortcuts never replace verifying bearing on the firing card.
Use the offline planner. Our firing solution planner lets you rehearse range-to-elevation math outside the game —but in-mission, the in-game clipboard remains authoritative.
Quick reference checklist
- Teleprinter read and target typed.
- Map line snapped turret → grid intersection.
- Clipboard bearing and range match map output.
- Calculator elevation and charge copied to card.
- Shell and powder loaded for that charge.
- Turret dials match clipboard at rest.
- Fire → recon → correct with updated card if miss.
Trust the paperwork. High Command sends poetry; the clipboard sends shells where they belong.
Frequently Asked Questions
Quick answers to the most common questions.
How do I open the clipboard in IRON NEST?
Press Tab by default to view the firing card with bearing, range, elevation, and charge. Confirm your bindings on the default keybinds page.
Why does my range not match the map?
Usually a mis-snapped measure line. Redraw from your turret icon to the correct grid intersection and check the clipboard again before calculating.
Does the demo use the same clipboard system?
Yes. The demo teaches the identical map-to-clipboard-to-calculator workflow as the full release.