IRON NEST: Heavy Turret Simulator Intel —Measure —Calculate —Load —Fire
The full procedural chain from teleprinter ribbon to shell on target.
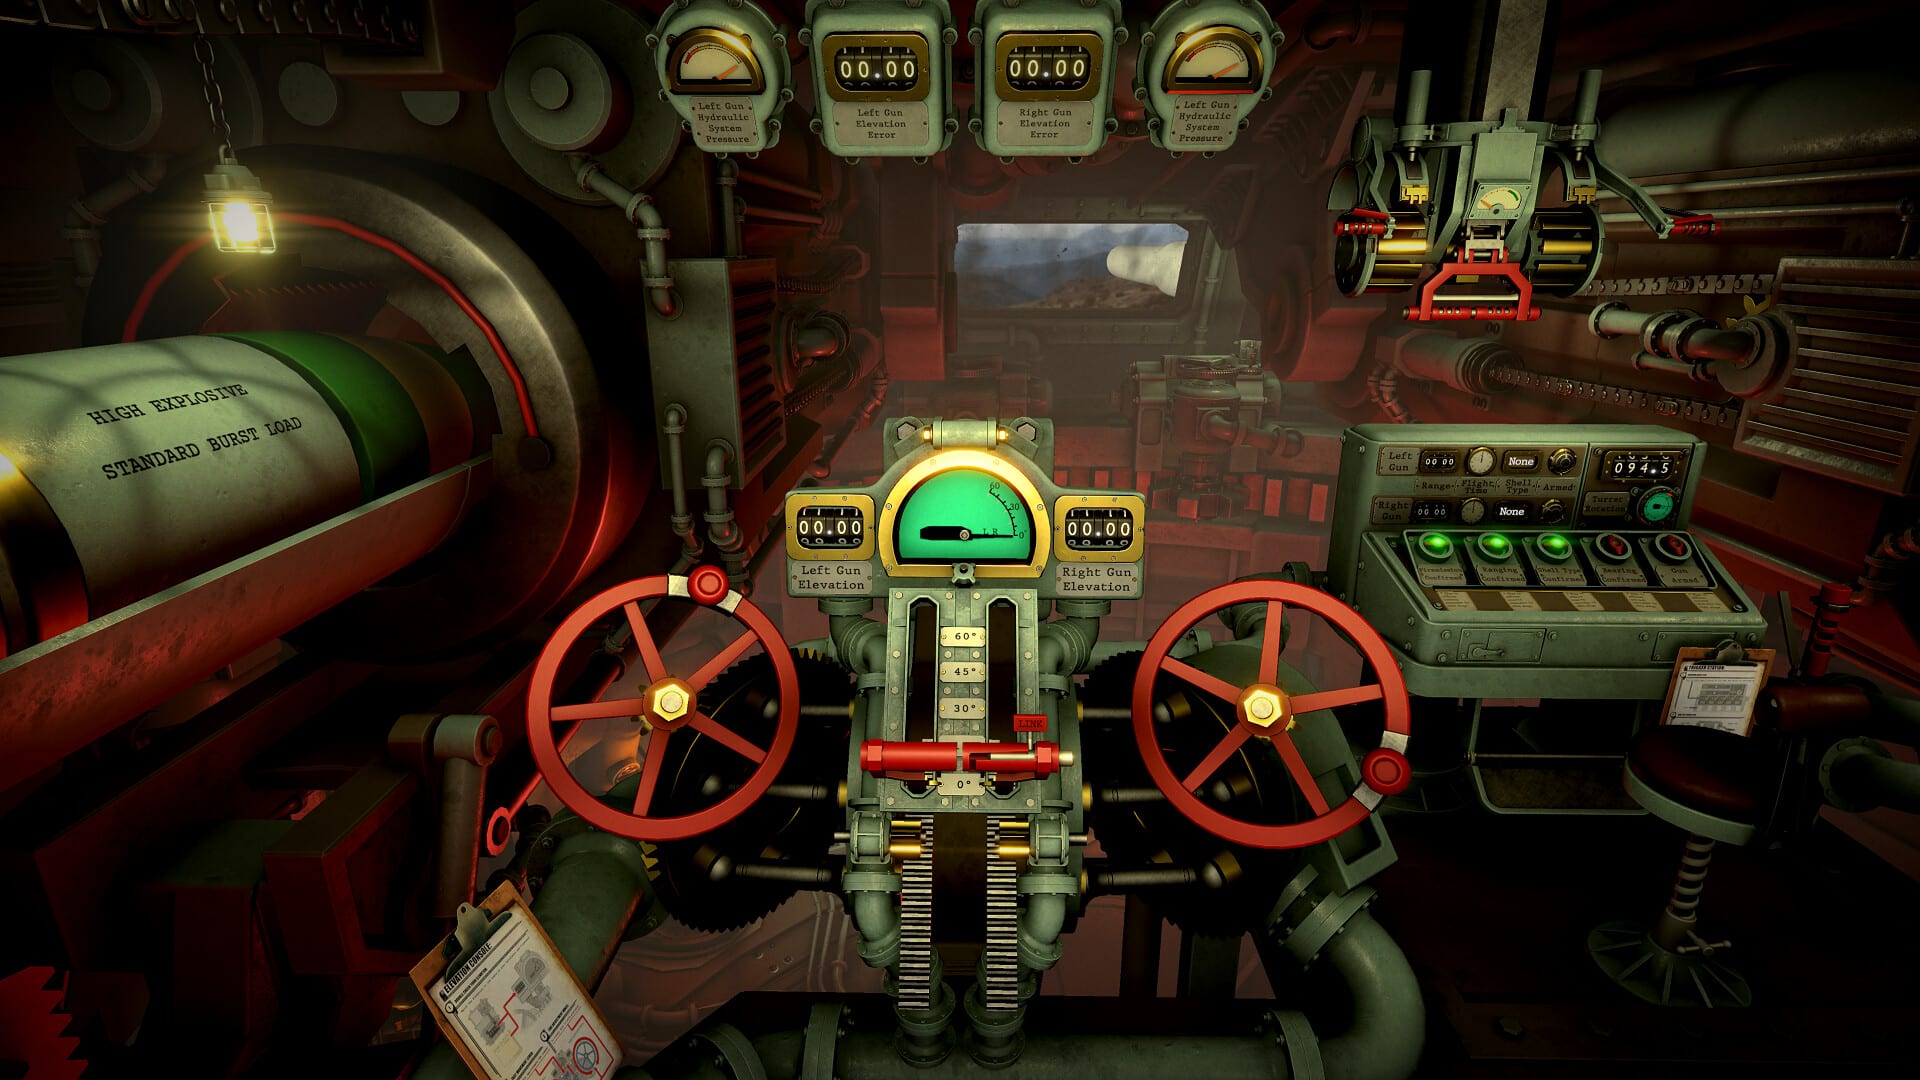
Every shell in IRON NEST earns its place on target through a fixed procedure. The game is not asking for fast clicks —it is asking you to run a fire-control loop the way a real heavy-artillery crew would, minus the decades of training. Once you internalize the chain intel —measure —calculate —load —fire, individual missions become variations on a skill instead of a scramble through unfamiliar menus.
This page is the systems-level reference. For a guided first shot, use the first firing solution walkthrough. For map-specific technique, pair it with tactical grid tools.
Step 1: Intel —read before you touch the gun
The loop starts at the teleprinter and radio desk, not at the breech. Incoming traffic mixes orders, coordinates, target type, and priority. Your job in the intel phase is translation: turn a ribbon of text into a clear problem statement.
Calibration matters. A misaligned teleprinter garbles grid references and turns a solvable shot into wasted ammunition. Radio chatter may add spotter bearings, corrections from previous impacts, or requests from front-line units that conflict with High Command. IRON NEST deliberately lets those voices disagree —narrative tension begins here, not at the trigger.
Before you mark the map, answer three questions: What am I shooting? Where is it? Does the order match the intelligence? Wrong answers in intel poison every later step. If you skip straight to the calculator, you are not saving time; you are buying a miss.
Step 2: Measure —plot on the tactical grid
Coordinates on paper are not coordinates on the gun. The tactical grid is where you establish range, bearing, and origin. Mark your turret position, plot the target, and use grid squares, rulers, and colored pencils to keep old lines from confusing new solutions.
Common failures at this stage include measuring from the wrong anchor, copying a spotter bearing as if it were your turret bearing, and leaving stale lines that make you fire on yesterday’s target. The map is not decoration —it is the instrument that connects intel to ballistics.
When orders are incomplete, measurement becomes inference: triangulation, estimated positions, and careful notes. Challenge missions and later campaign regions lean on that uncertainty. Operators who treat map work as optional discover quickly that the ballistic calculator only outputs angles for numbers you actually measured.
Step 3: Calculate —range to elevation and charge
Heavy shells arc. The ballistic calculator converts measured range into elevation and helps you choose propellant charge for the distance and shell mass. This step is where IRON NEST feels closest to a logic puzzle: the inputs must be clean, or the dial settings lie with confidence.
Wind, mission modifiers, and special ammunition can shift the solution. Early missions forgive small errors; later ones do not. Keep calculator work on the clipboard habit —write bearing, range, elevation, and charge together so the loading phase does not scramble your numbers.
Step 4: Load —shell choice and physical prep
Intel tells you what to kill; loading is how. IRON NEST ships with a deep ammunition table in the full game —armor-piercing, high explosive, smoke, chemical roles, and more. The demo introduces a subset; progression and abilities covers how unlocks widen the rack.
Loading is tactile: select the shell type, prepare powder charges, and sequence the dual barrels if the mission calls for staggered fire. Using the wrong round on a hardened target wastes a turn; using an oversized round near sensitive areas has consequences that show up in newspaper reports later.
Hydraulic strain and mechanical faults can interrupt loading. The loop does not pause the war —you fix what broke and return to the numbers on your clipboard.
Step 5: Fire —traverse, elevate, commit
Gunlaying is manual. Traverse to bearing, elevate to the calculated angle, confirm left or right gun if both are loaded, then use fire control as the final safety check —not as the start of solving. Pull the trigger only when shell, charge, bearing, and elevation agree with your written solution.
The turret is thousands of tons of steel moved by hydraulics you can feel in the cab. Rushing traverse before pressure builds, or firing the wrong barrel, are operator errors the game expects you to eliminate with practice.
After the shot: observe and correct
The loop is not finished at muzzle flash. Aerial recon and follow-up reports tell you whether to adjust range, bearing, or both. Corrections close the loop back to measure and calculate —sometimes without new intel if the target has not moved.
Treat each miss as data. A systematic correction beats guessing elevation because the last shot felt short. Speed comes from repeating the chain cleanly, not from skipping steps.
How the loop scales across the campaign
Demo missions teach the chain under gentle time pressure. Full campaign regions add incomplete data, counter-battery threat, and moral weight to target selection. Challenge modes compress the same loop against leaderboards. Abilities unlocked mid-campaign shave seconds off hydraulic work or map readouts, but they never replace measurement —they reward operators who already trust the procedure.
Operator checklist
| Phase | Confirm before moving on |
|---|---|
| Intel | Target type, grid reference, order priority, teleprinter calibrated |
| Measure | Correct origin, fresh map lines, bearing and range written |
| Calculate | Elevation and charge match range and shell |
| Load | Shell role fits target; correct gun side selected |
| Fire | Traverse and elevation match clipboard; fire control armed |
| Correct | Read recon; adjust map and calculator before second shot |
Related guides
- Getting Started —day-one orientation.
- Demo guide —what the free build includes.
- Review —how critics and players react to the loop.
- Release date —when the full campaign arrives.
Trust the procedure, not your gut. When intel, map, calculator, loader, and fire control agree, IRON NEST stops feeling like chaos and starts feeling like mastery —one deliberate shell at a time.
Frequently Asked Questions
Quick answers to the most common questions.
What are the five steps of the IRON NEST firing loop?
Intel (read orders), measure (plot on the map), calculate (ballistic solution), load (shell and charge), fire (traverse, elevate, commit). Corrections repeat measure and calculate.
Why do I miss if my elevation looks right?
Usually bad range from the map, wrong shell type, firing from the wrong origin, or stale coordinates. Re-check measurement before tweaking elevation alone.
Does the demo use the same loop as the full game?
Yes. The demo runs the complete chain with fewer ammo types and abilities. See the demo download page for Steam app 4300500.