IRON NEST: Heavy Turret Simulator Shell Tier List
S, A, and B tier picks for each target type —role-first loading before you touch the shell selector lever.
IRON NEST does not reward a single best shell. The tier list below ranks every confirmed round against specific target types so you can load in seconds when High Command leaves the choice to you. Tiers reflect demo and early-access mission data: S-tier rounds consistently clear objectives with minimal requisition waste; A-tier rounds work but cost more credits or demand tighter aim; B-tier rounds are situational, order-restricted, or currently underused in available content.
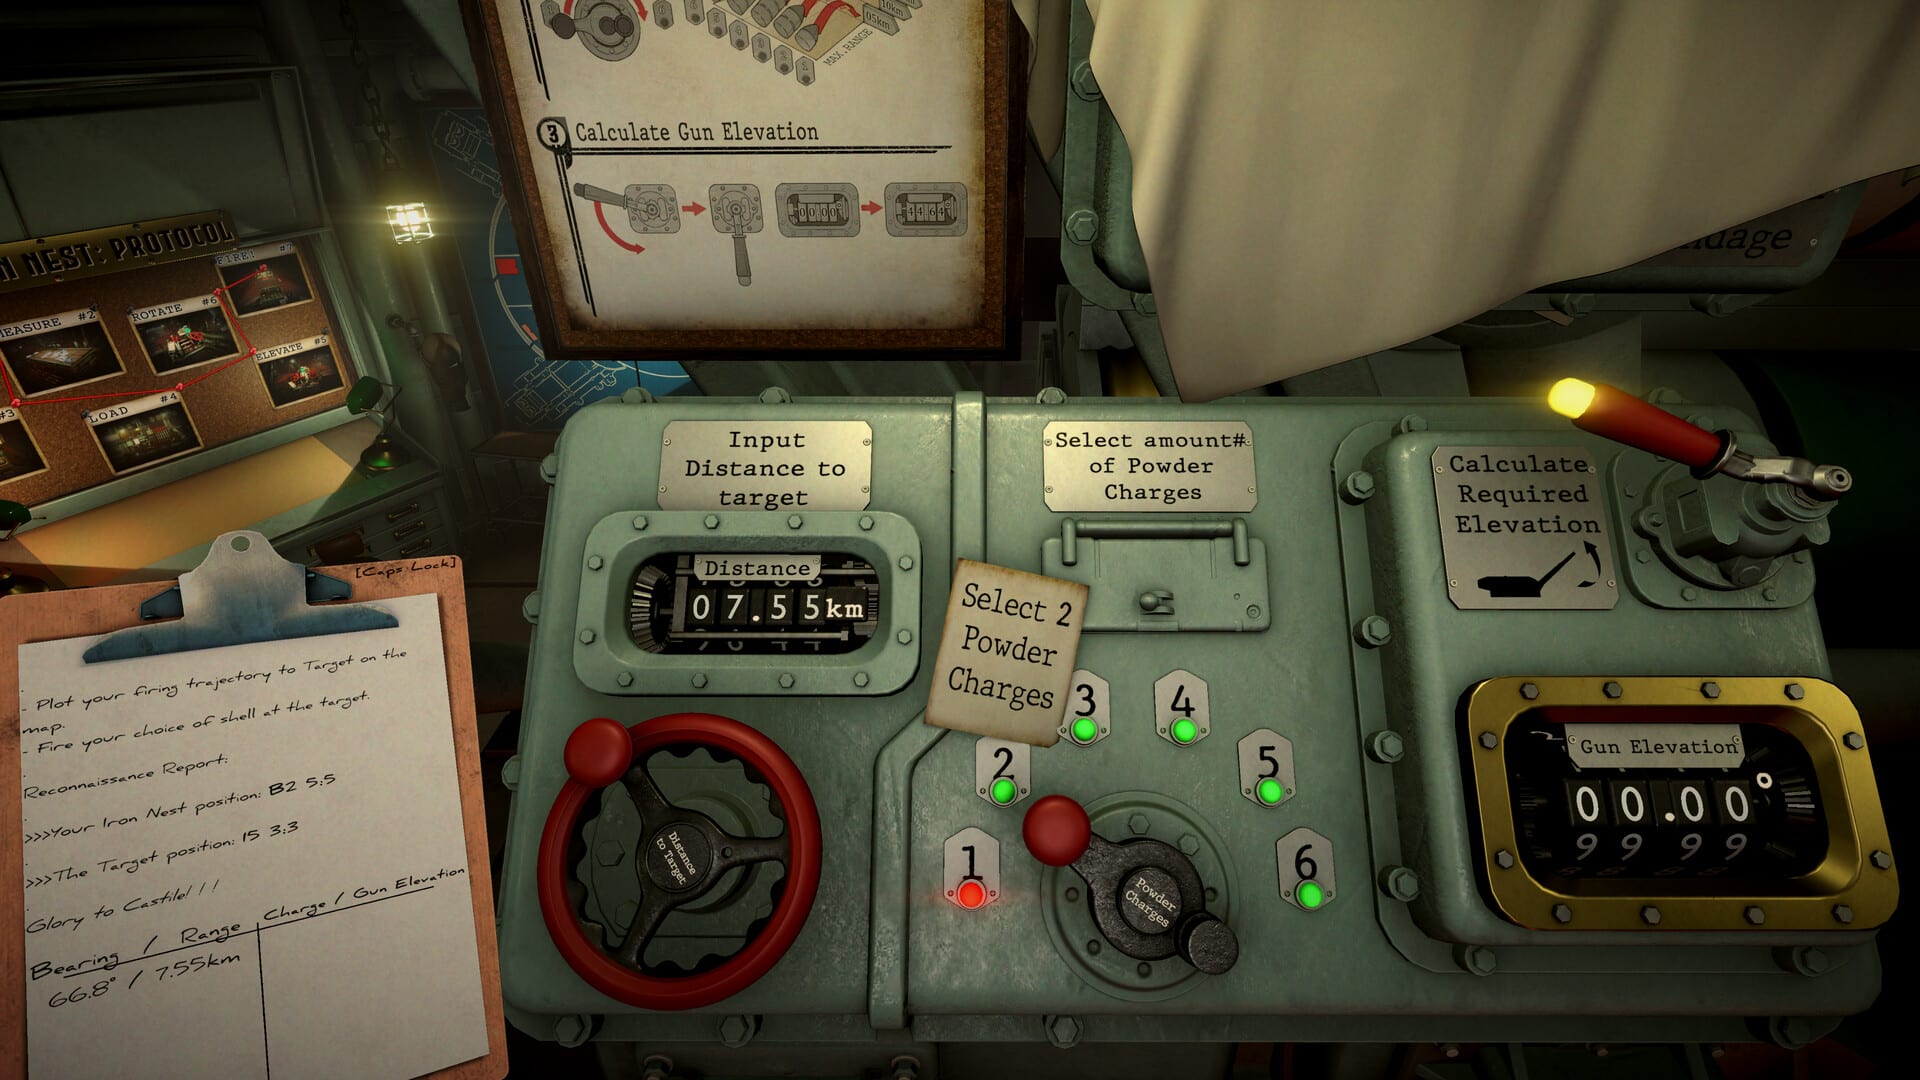
Powder charge still sets range on the shared firing table —see Physical Gun Controls for loading. This page answers which shell after you know where you are shooting from map work on Map Console Tools.
Tier key
| Tier | Meaning |
|---|---|
| S | Default pick —highest success rate vs this target class |
| A | Strong alternative —use when S is unavailable, overkill, or forbidden by order |
| B | Niche or future content —correct only for special missions or bad match |
Bunkers, armor, and hardened points
| Shell | Tier | Notes |
|---|---|---|
| AP | S | Only round with damage above baseline and smallest blast —built to pierce hardened structures |
| HE | B | Blast spreads on surface; bunkers shrug off fragmentation |
| HCHE | B | Wide radius does not compensate for lack of penetration |
| PGAS | B | Area gas does not crack armor |
| PYRO | B | Fire does not substitute for kinetic penetration |
Load AP. Details on Armor-Piercing Shells.
Single soft target (vehicle, gun, building section)
| Shell | Tier | Notes |
|---|---|---|
| HE | S | Everyday fragmentation round —cheap and reliable |
| HCHE | A | Overkill unless target sits near friendlies you must avoid |
| AP | A | Works on partial armor; wasted on unarmored tents |
| STAR | B | Non-damage illumination —wrong tool for destruction |
Massed infantry and clustered enemies
| Shell | Tier | Notes |
|---|---|---|
| HCHE | S | Largest practical HE-class radius —two adjacent squads in one bracket |
| HE | A | Fine for single cluster; less efficient when enemies stack |
| PGAS | A | When orders allow chemical fires vs unarmored troops |
| TGAS | B | Non-lethal —limited mission use in current build |
| AP | B | Pinpoint damage misses spread-out infantry |
See High-Explosive Shells for HE vs HCHE credit math.
Artillery batteries and fire direction centers
| Shell | Tier | Notes |
|---|---|---|
| HE | S | Standard counter-battery load |
| HCHE | A | When battery elements sit tight and friendly grid is clear |
| AP | A | Buried or hardened FDC nodes only |
Counter-battery also demands fast map triangulation —Getting Started and Guides hub cover timed operations.
Underground or buried targets
| Shell | Tier | Notes |
|---|---|---|
| HCHE | S | Overpressure and wide burst reach sub-surface positions |
| AP | A | Specific hardened entry points |
| HE | B | Surface burst alone often fails |
Area denial and suppression
| Shell | Tier | Notes |
|---|---|---|
| PGAS | S | Lethal chemical cloud —order-restricted |
| TGAS | A | Non-lethal dispersal when rules of engagement allow |
| SMK | A | Concealment without casualties —see Smoke & Star Shells |
| PYRO | A | Fire-based denial —Chemical & Incendiary Shells |
Concealment and screening movement
| Shell | Tier | Notes |
|---|---|---|
| SMK | S | White phosphorus smoke —blocks observation |
| HE | B | Wrong effect entirely |
Illumination and night observation
| Shell | Tier | Notes |
|---|---|---|
| STAR | S | Parachute flare lights grid for correction |
| HE | B | Destruction, not visibility |
Night missions often pair STAR with a follow-up HE shot on the second barrel.
Civil unrest and infrastructure-preservation orders
| Shell | Tier | Notes |
|---|---|---|
| PGAS | S | Eliminates personnel while leaving structures intact —when authorized |
| TGAS | A | Non-lethal option if missions activate it |
| HE | B | Collateral damage fails grading |
Quick decision flowchart
- Did High Command name a shell? —Load exactly that.
- Is the target hardened or buried? —AP or HCHE per tables above.
- Are multiple soft targets inside one blast circle? —HCHE.
- Is the goal observation, not damage? —STAR or SMK.
- Otherwise —HE.
Full shell summary table
| Shell | Best target class | Tier average |
|---|---|---|
| AP | Bunkers / armor | S on hard, B on soft |
| HE | General purpose | S on single soft, A on clusters |
| HCHE | Clusters / underground | S when grouped, B on single armor |
| SMK | Screening | S on concealment missions |
| STAR | Illumination | S on night observe |
| PGAS | Chemical personnel | S when ordered |
| TGAS | Non-lethal | B until missions activate |
| PYRO | Incendiary flush | A on entrenchments |
| EMPT | Training | N/A |
Requisition discipline
HCHE and specialty rounds cost more credits than HE. S-tier for a target type is also the cheapest tier when HE suffices —do not chamber HCHE for a lone tent unless the mission pays for overkill.
After you pick a tier
Deep dives:
Loading sequence: Physical Gun Controls. Controls overview: Controls hub. Ammunition overview: Ammunition hub.
Related pages
- Guides hub —missions where shell choice is graded
- Getting Started —first load in the demo
- Map Console Tools —plot before you pick
Frequently Asked Questions
Quick answers to the most common questions.
Is AP always the best shell?
No. AP is S-tier only against bunkers and hardened targets. Against infantry and soft structures, HE or HCHE outperform AP and cost less requisition.
When is HCHE S-tier over HE?
When two or more valid targets fall inside HCHE blast radius, or when a buried position needs overpressure HE cannot provide.
Why are smoke and tear gas ranked low on most tables?
Current demo missions rarely grade on concealment or non-lethal loads. They become S-tier on operations that explicitly require those effects.