IRON NEST: Heavy Turret Simulator Map Console & Plotting Tools
Map view, colored pencils, measure drag, compass arcs, tokens, and the clipboard workflow that feeds the ballistic calculator.
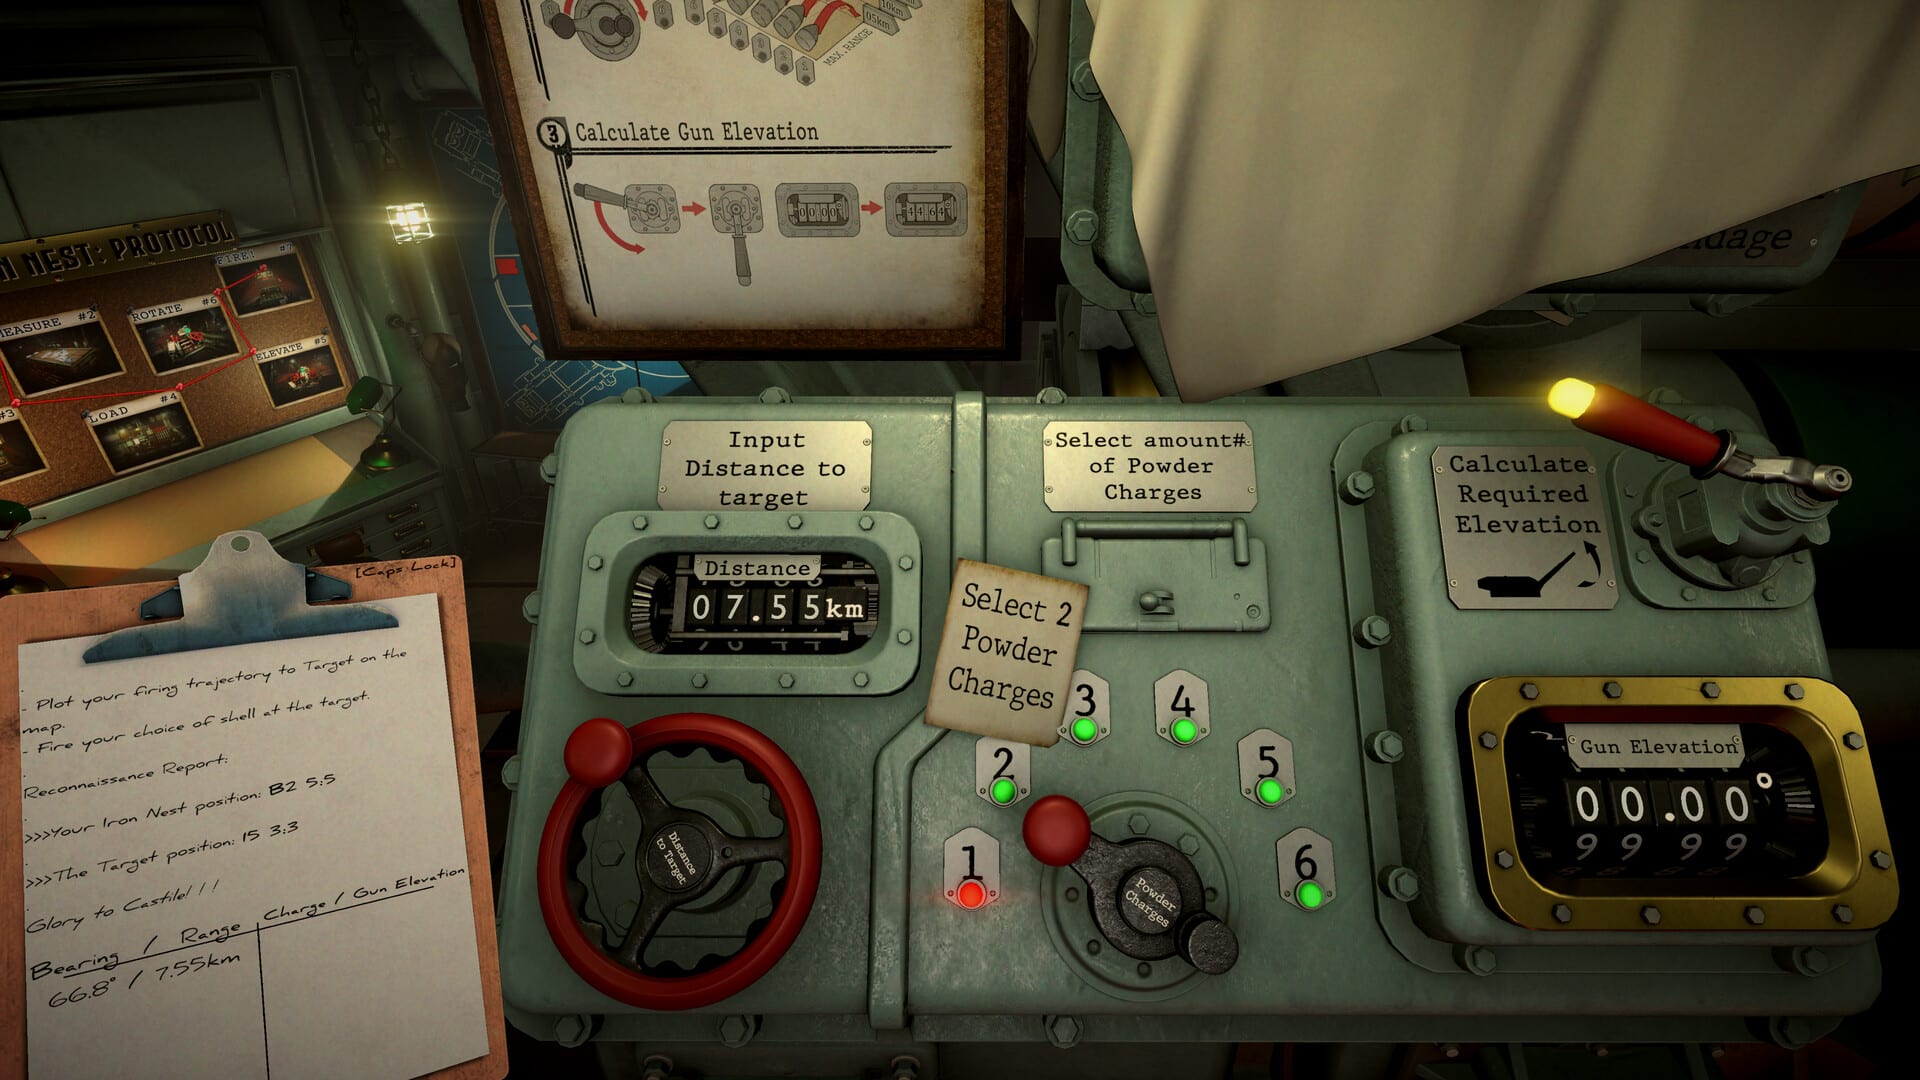
The map table is the brain of the Iron Nest. The guns are the muscle, but missions are won or lost on the 20×10 grid where you translate teleprinter reports into bearing and range. Map console tools —map view toggle, colored pencils, measure drag, compass arcs, token placement, and the clipboard —are the controls most demo players overlook until Operation 2 demands full triangulation without hand-holding.
This page explains each tool, when to use it, and how firing data reaches the ballistic calculator. Pair it with Default Keybinds for E, Tab, and mouse measure input, and Physical Gun Controls for what happens after the map solution is copied.
Opening map view
Approach the map console in the cab and press E to toggle map view. The camera shifts to the plotting table where tokens, pencils, and the compass sit ready. The same E interact key used elsewhere in the cab applies here —there is no separate map hotkey.
Exit map view by interacting with the console again when you are ready to walk to the calculator or loading platform. Rushing out before verifying clipboard data is a common source of calculator typos.
Grid and coordinates
The tactical map uses columns A–T and rows 1—0. Each cell subdivides into a 10×10 sub-grid numbered from zero, so a full coordinate reads like F10 8:0 —cell first, then sub-cell.
Spotter reports, field telegrams, and High Command orders reference this format. Plot to sub-cell precision before drawing firing lines; rounding early shifts impact by entire grid squares at long range.
Tokens —building the picture
| Token | Role |
|---|---|
| Iron Nest marker | Your turret position —usually placed first each mission |
| Blue numbered tokens (1—) | Friendly spotters providing bearings or distances |
| Green letter tokens (A–C) | Named reference points from briefings |
| Red numbered tokens (1—) | Confirmed enemy targets after triangulation |
Place spotters before drawing lines. If a report says “bearing from Spotter 2,” token 2 must sit on the grid location the briefing assigned.
Colored pencils —red, yellow, white
Three wooden pencils sit on the map table. Colour is not cosmetic —it separates triangulation scaffolding from the final firing solution.
Red pencil —final firing solution
Use red for the Iron Nest to target line that actually feeds the gun.
- Draw from the spike at the bottom of the turret model on the map to the target sub-cell. Starting elsewhere skews bearing and range.
- Red lines calculate bearing and range and copy both values to the clipboard automatically.
- Open the clipboard with Tab to verify before entering the ballistic calculator.
Keep red lines clean. Delete wrong red measurements before confirming calculator entries —stale red data mixed with new targets causes friendly-fire investigations in later operations.
Yellow pencil —support and triangulation
Yellow draws lines that show bearing and range on screen but do not copy to the clipboard.
Use yellow for:
- Spotter bearing lines from blue tokens
- Intermediate triangulation legs
- Correction analysis after observed impact
Typical workflow: draw a yellow bearing from Spotter 1, swing a compass arc from Spotter 2’s distance report, mark the intersection with a red target token, then switch to red for the final Nest-to-target line only.
White pencil —planning marks
White draws plain lines with no measurement output. Use it to:
- Sketch sector boundaries
- Track spotter movement paths
- Organize notes without polluting calculator-bound data
White is optional but valuable when four spotters and two guns clutter the same grid square.
Measure drag (LMB on map)
Hold left-click and drag across the map to use the measure tool. This brackets distance for blast planning and sanity-checks range against compass arcs.
Measure drag complements —not replaces —the red pencil firing line. Use it when orders ask you to verify radius coverage for HCHE or area-denial shells documented on High-Explosive Shells and Chemical & Incendiary Shells.
Compass arcs
When a report gives distance from a spotter instead of a bearing, swing the drafting compass to draw an arc of that radius centered on the spotter token. Two arcs —or one arc plus one yellow bearing line —intersect at the target cell.
This replaces the “where is the protractor?” confusion many demo players hit. IRON NEST expects triangulation with lines and arcs, not mental math from a school protractor.
Clipboard workflow (Tab)
The clipboard stores:
- Teleprinter excerpts you copy from High Command and field reports
- Bearing and range from the latest red pencil line
- Your manual notes per gun side
Dual-gun rule: assign one clipboard side to the left barrel and one to the right. Never fire gun two with gun one’s bearing pasted into the calculator.
Clear stale entries at mission start. Bearing lines from previous targets have caused more misses than calculator bugs.
From map to calculator to gun
- Copy useful teleprinter lines to the clipboard.
- Place tokens for Nest, spotters, and references.
- Triangulate with yellow lines and compass arcs; mark the enemy with a red token.
- Draw the red Nest-to-target line; confirm clipboard with Tab.
- Walk to the ballistic calculator; enter bearing and range; confirm with Enter.
- Load and lay on Physical Gun Controls.
Shell selection happens during loading —consult Shell Tier List before leaving the platform if orders allow choice.
Map discipline for counter-battery
Counter-battery and timed operations punish messy maps. Habits that scale:
- One colour per logical step —yellow to find, red to fire.
- Delete obsolete yellow lines after marking the target.
- Never draw two active red lines for different guns without labeling clipboard sides.
- Re-measure after star shell illumination if night visibility changes your sub-cell read.
Star and smoke roles are covered on Smoke & Star Shells.
Common mistakes
| Mistake | Fix |
|---|---|
| Red line not from turret spike | Redraw from the Nest model base |
| Using yellow for final fire data | Switch to red so clipboard populates |
| Ignoring sub-cell precision | Walk coordinates to full F10 8:0 format |
| Mixed clipboard sides on dual guns | Clear and re-copy per barrel |
Related pages
- Controls hub —controls overview
- Default Keybinds —E, Tab, LMB measure
- Physical Gun Controls —after map solution
- Getting Started —first mission map intro
- Guides hub —triangulation walkthroughs
- Shell Tier List —ammunition after plotting
Frequently Asked Questions
Quick answers to the most common questions.
What is the difference between red and yellow pencils?
Both show bearing and range when drawn. Only red copies those values to the clipboard for the ballistic calculator. Use yellow for triangulation legs and red for the final Nest-to-target firing line.
How do I measure range on the map without a red line?
Hold left-click and drag for the measure tool, or use the compass for distance arcs from spotter tokens when reports give radius instead of bearing.
Why does my firing solution miss despite correct clipboard numbers?
Verify the red line starts at the turret spike on the map, sub-cell coordinates match the intel report, and you entered the correct gun's clipboard side on dual-barrel missions.