IRON NEST: Heavy Turret Simulator Grid Squares, Tokens, and Plotting Accuracy
Turn teleprinter coordinates into range and bearing you can trust.
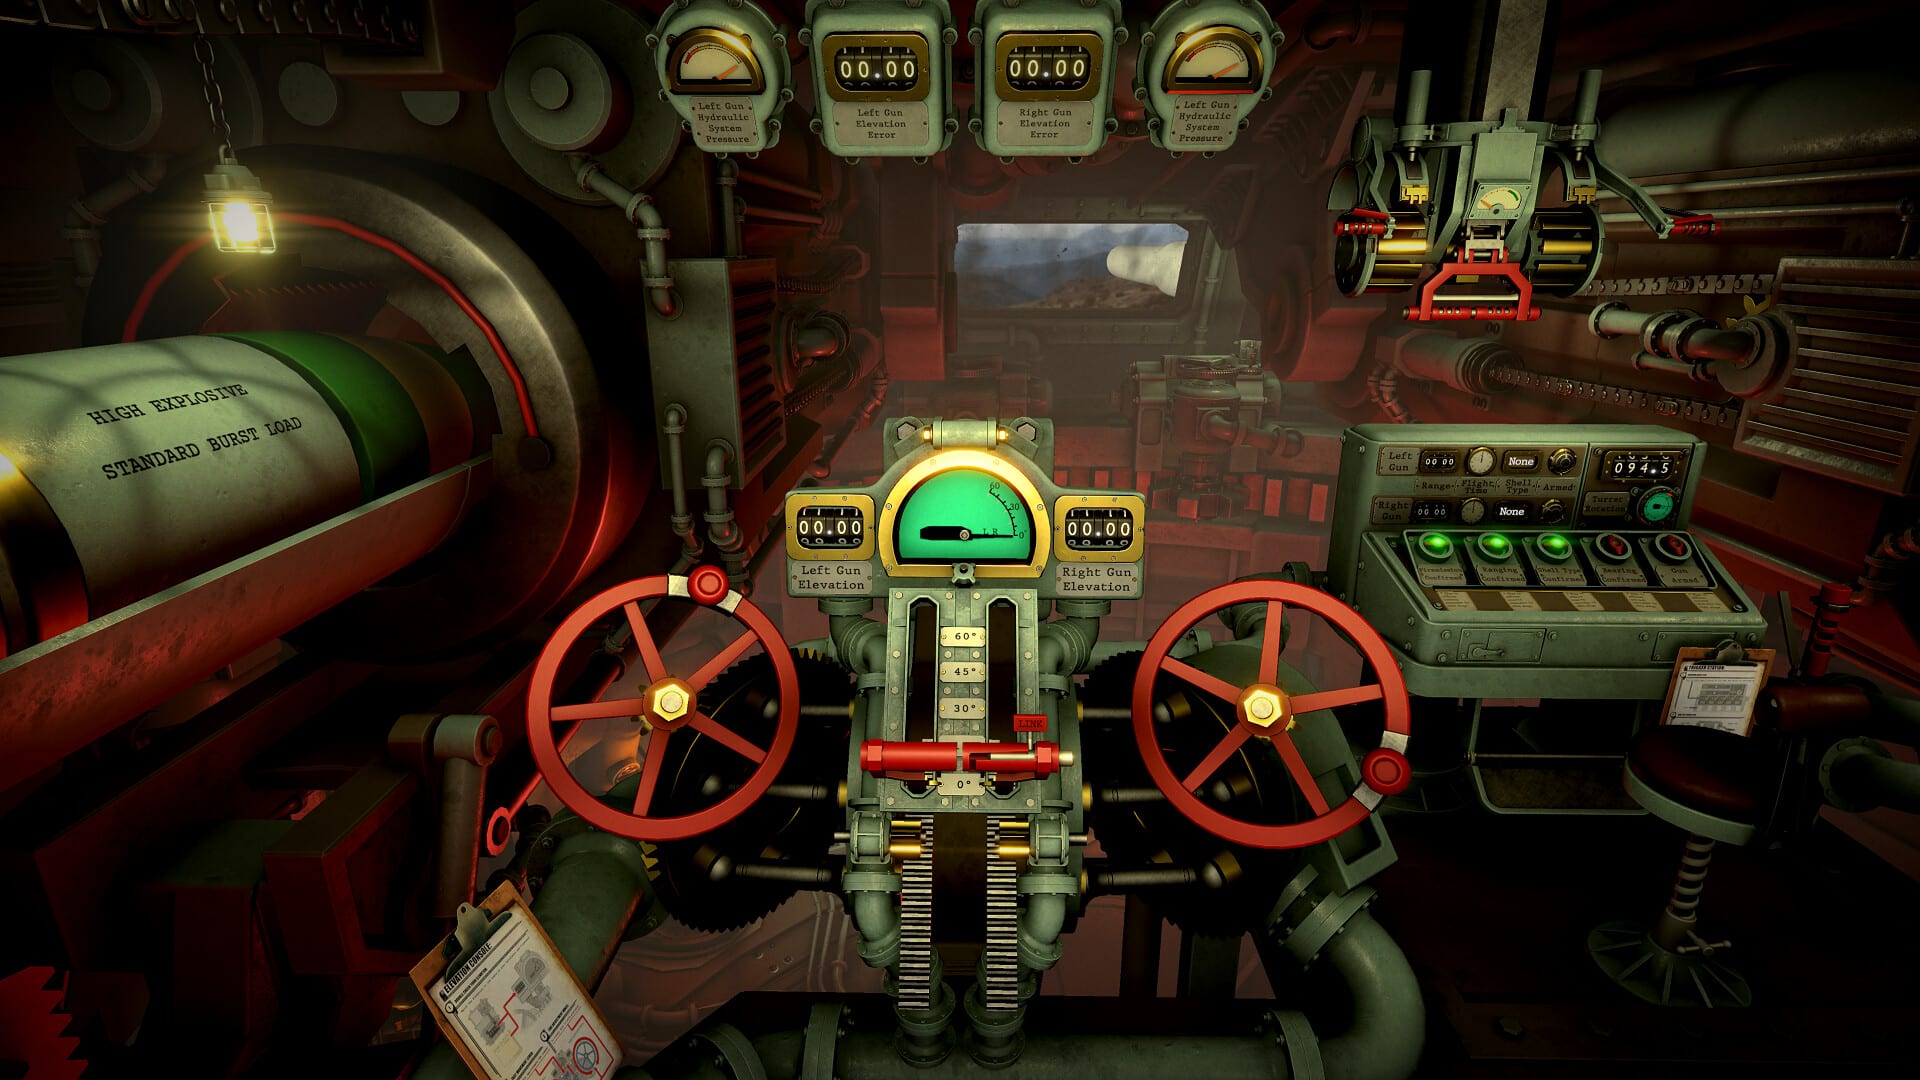
The tactical grid is the second link in IRON NEST’s firing chain —after intel and before the ballistic calculator. It is a large physical war table with gridded squares, movable tokens, rulers, protractors, and colored pencils that translate High Command’s coordinates into geometry the gun understands. If this step is sloppy, elevation can be perfect and the shell still lands where nobody intended.
Master the grid here, then walk the full loop in fire control loop and practice under time pressure in the first firing solution guide.
Grid fundamentals
The map divides space into uniform squares with labeled axes. Each square represents a fixed ground distance at campaign scale —consistency matters more than memorizing real-world meters. Your first action on a new mission is always orienting the table: locate your turret’s plotted position (origin) relative to the grid, then locate the target reference from orders or spotter traffic.
Never assume the game auto-marks either point. You place tokens or pencil marks explicitly. Origin errors are the silent killer of accuracy because every downstream step —range, bearing, elevation —inherits them.
Tokens and pencil discipline
Tokens represent friendly turret position, primary targets, spotter references, and sometimes provisional points when intel is incomplete. Pencil colors (commonly red, yellow, white in operator guides) separate active solutions from archived lines.
Rules that prevent expensive mistakes:
- One active solution color —when correcting, erase or mark obsolete lines instead of layering confusion.
- Origin token pinned first —move it only when the mission explicitly relocates your firing position.
- Spotter vs turret bearings —a spotter’s observation angle is not your gun bearing until converted through the grid.
- Write numbers on paper —range and bearing copied to the clipboard before you touch calculator dials.
Sloppy tokens turn triangulation into fiction.
Measuring range
Range is the straight-line ground distance from origin to target measured with the table ruler along a plotted line —not eyeballing square counts unless the mission scale allows it. For multi-segment paths (rare), break legs cleanly and sum with notes.
When targets move between intel and firing, some missions expect you to lead using last known grid and spotter updates. The grid does not predict movement automatically; you extrapolate with pencil and time stamps from radio text.
Measuring bearing
Bearing is the horizontal angle from origin to target relative to grid north (or the map’s printed reference rose). Use the protractor tool carefully, aligning to origin rather than to arbitrary table edges. Confusing magnetic flavor text with grid north is a common demo mistake —trust the printed rose on the table.
Dual-gun turrets still use one bearing line per solution unless orders specify staggered targets on left and right arcs. Mark which barrel owns which line if both guns load different solutions.
Plotting accuracy under imperfect intel
Not every mission delivers full grids. Techniques include:
Triangulation —two spotter bearings intersect at a provisional point; mark lightly until confirmed.
Partial coordinates —complete the grid reference from context in the order; verify against a second source when radio traffic allows.
Calibration fire —some scenarios expect a ranging round whose impact adjusts the next plot; treat impacts as new tokens, not guesses.
Star shell and illumination —correction reports may shift tokens after observation; update lines before recalculating.
These patterns appear more often in later campaign regions and in challenge modes.
From grid to calculator
Once range and bearing are fixed, the ballistic calculator consumes range (bearing drives traverse on the gun). The grid never sets elevation directly —that separation keeps roles clear. If traverse is wrong, check bearing; if impact is long or short, check range and charge, not grid north.
Abilities from progression and abilities may highlight intersections or preserve layers, but they do not remove the need to read squares yourself in the demo and full game alike.
Accuracy checklist before leaving the table
| Check | Pass criteria |
|---|---|
| Origin | Turret token matches deployment text |
| Target | Plotted point matches current order, not prior mission |
| Lines | Obsolete pencils cleared or marked inactive |
| Range | Ruler path matches straight line origin —target |
| Bearing | Protractor aligned to map rose from origin |
| Notes | Range and bearing copied to clipboard |
Common mistakes (and fixes)
Measuring from the wrong token —reset origin when relocation orders arrive mid-mission.
Using spotter range as turret range —spotters measure from their position; convert through the grid.
Keeping stale correction lines —label correction pass numbers on the map edge.
Rushing to fire control —the trigger is step five; the map is step two for a reason.
Ignoring collateral context —grids near towns still plot the same mechanically, but newspaper consequences remind you that precision carries moral weight.
Practice paths
- Demo download —drill grid workflow free on Steam app 4300500.
- Demo guide —mission-by-mission expectations.
- Getting Started —controls and first-hour flow.
- Review —player notes on map difficulty spikes.
The tactical grid rewards calm hands. Measure twice, calculate once, fire when the tokens and numbers agree —that is how IRON NEST turns a stupidly large table into devastating accuracy.
Frequently Asked Questions
Quick answers to the most common questions.
What tools does the IRON NEST map provide?
A gridded war table with tokens, rulers, protractors, colored pencils, and line plotting for range and bearing from your turret origin to each target.
Why do my shots miss with correct elevation?
Usually a range or bearing error from the grid —wrong origin, stale lines, or spotter data used without conversion. Re-measure before changing elevation.
Does the tactical grid change between regions?
Core tools stay the same. Campaign regions change terrain layout, intel quality, and target behavior on the same table rules.